
One day I decided – “I’m not waiting any longer, I’ve always wanted my own observatory so I am going to do it…” YES!!
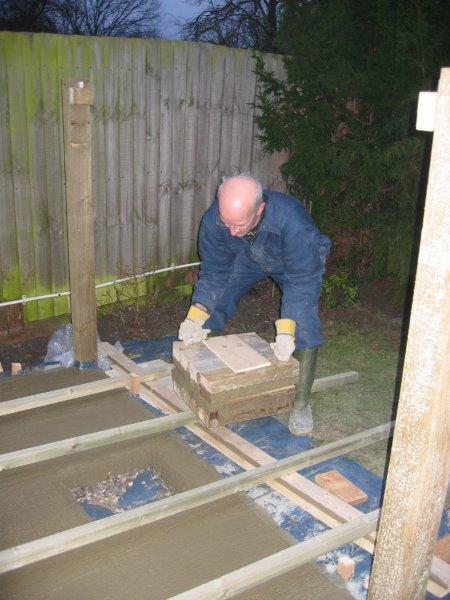
I started the observatory around November 2008 – probably not a good idea in hindsight since the following months were full of wet, cold fun packed days digging holes, mixing cement and generally dodging the rain showers. Here are some snaps of the progress that I took along the way – this is James (my son, Head of Effects at Milk VFX, special effects artist extraordinaire and BAFTA winner – yes, I am proud of him) & me…
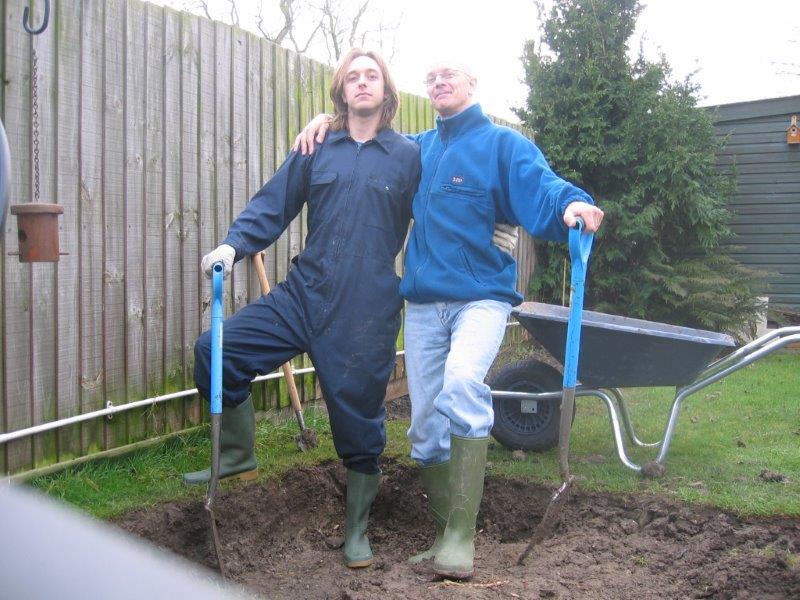
James and Kevin
Permission to build the observatory (from ‘she who must be obeyed’) was that it must remain not more than fence height. Since I am of normal height and wanted a warm working section in which I could stand up straight, the only alternative was to dig down.
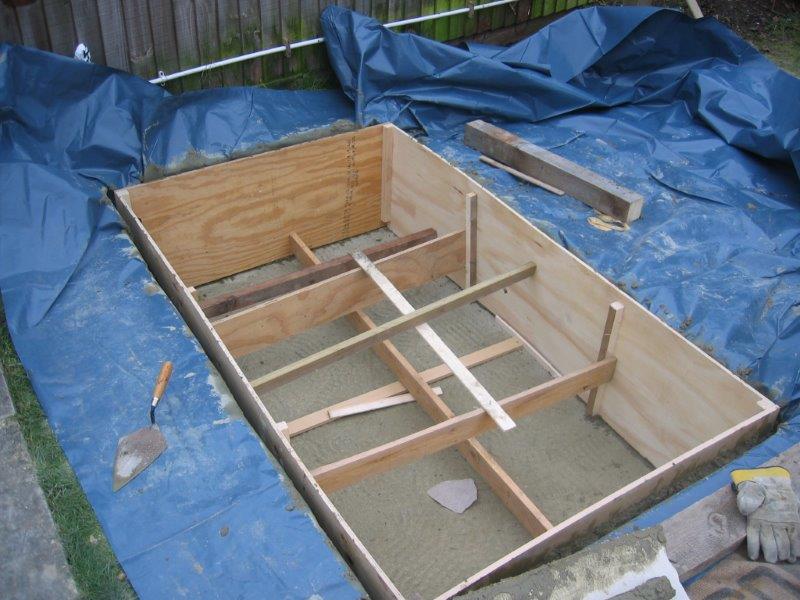
The deeper part on the left is for the warm area. The right hand section is where the telescope and pier will live. Since that part of the roof will be removable, it did not need to be excavated. Its hard to believe that this lot filled 6 cubic yards of skip!
The two holes on the right hand side are for two 4″x4″ posts that will hold the 2 large swing doors at the entrance to the observatory.
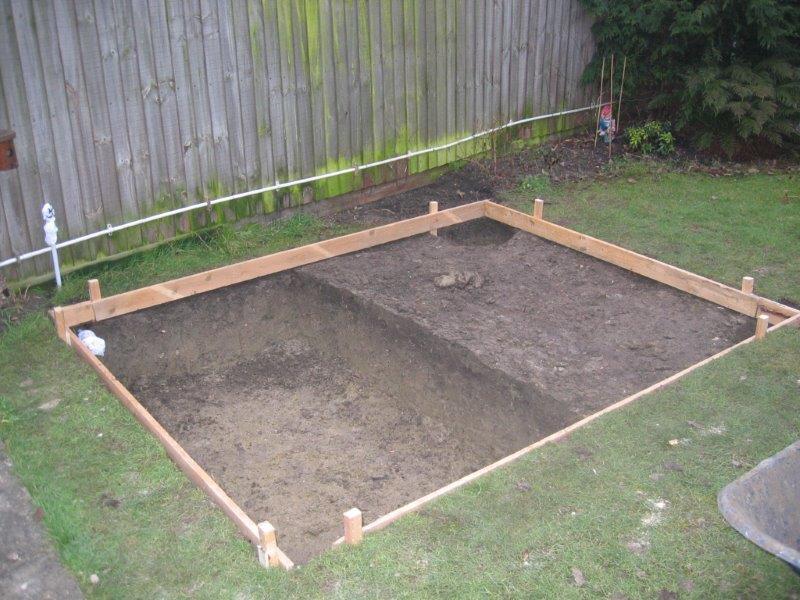
The hole
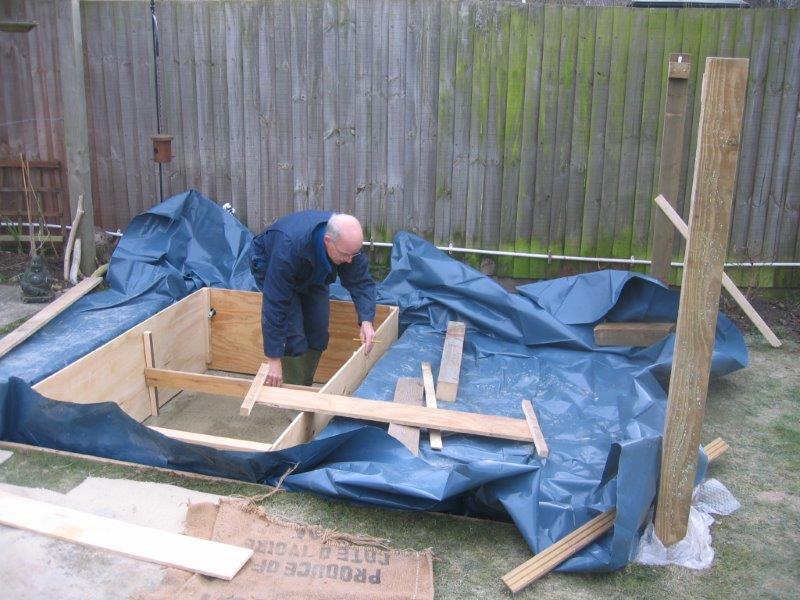
The plastic liner was inserted to prevent moisture. In addition, the concrete was treated with a water-proof additive. Concrete was first poured into the base of the sunken section and allowed to go off. Then a box was constructed to contain the concrete for the sides of the sunken section. A small pipe for the mains electricity supply can just be seen in the far corner.
The two 4×4 inch garden posts were concreted in to provide firm anchor points for the structure (and onto which the opening doors would be later hinged).
A willing partner is an essential part of the project. I don’t know how I would have managed without Elaine’s stoical help. How many wives would have braved the November cold and lugged barrow loads of sand around?
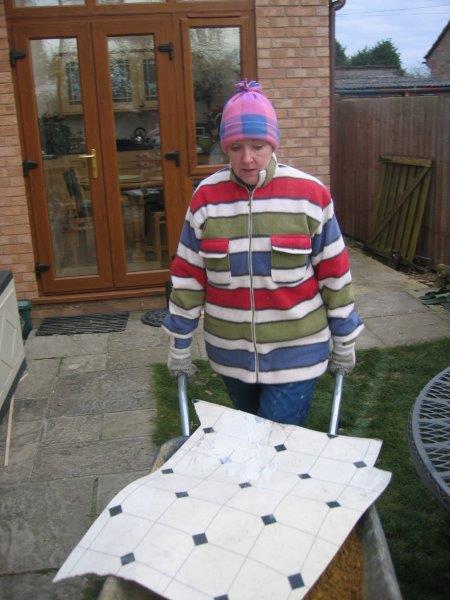
Elaine – doing the hard graft
I wanted to leave a hole in the base for the pier. This would be dug out later, much deeper for the foundation for the pier. A steel plate would also be inserted into this hole that would act as a former for the 4 threaded steel rods that would be used to bolt the pier to the floor. Here I am lifting the block of wood from the concrete that I used to form the hole.
A box section was built inside the liner to contain the concrete wall once the base had gone hard. The plywood needed to be supported otherwise the walls would bow when the concrete was pushed down the sides.
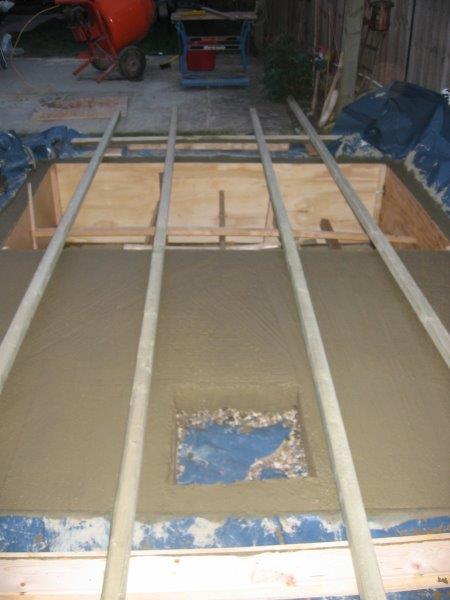
Here’s the concreting complete – just got to keep the cats off now. I wasn’t successful on that score and had to smooth over a trail of paw prints. The long timbers are so that the concrete could be covered over to prevent frost damage.
The edges of the sunken section have been filled with concrete and some internal supports prevent the sides of the box former from bowing inwards under the weight of the concrete.
 Click here (Observatory Construction Page 2) to see the next exciting installment.